How To Make A DIY Monitor Arm

A DIY monitor arm is an important tool if you’re struggling for room at your desk. It allows you to angle your monitor to suit you, as well as use your monitor for other purposes, such as being a tv.
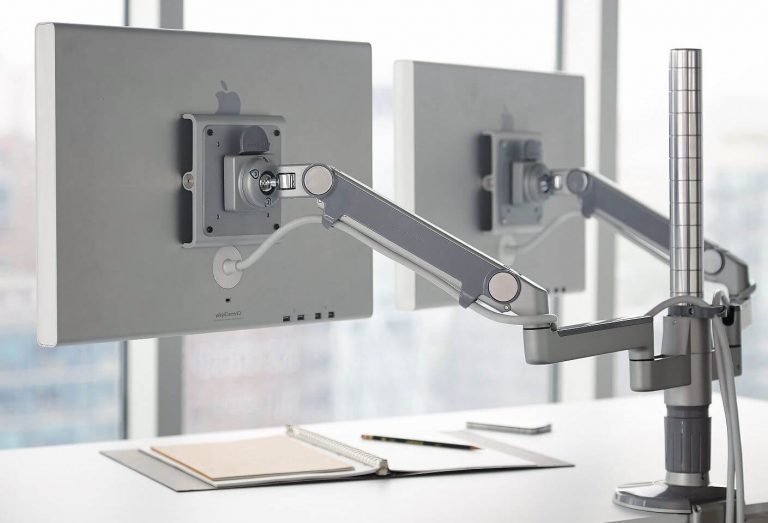
What Is A DIY Monitor Arm?
A DIY monitor arm is a homemade device which attaches to the base of your monitor, where it would usually stand. The purpose of the monitor arm is to hang the monitor off a wall or your desk, in order to give you more space to work with and keep the desk from becoming too cluttered. Monitor arms, including DIY monitor arms, are usually flexible in design and allow the monitor freedom of movement by moving on hinges.
How To Make A Monitor Arm – A Step By Step Guide
The difficulty with making your own monitor arm is that it has to suit the base of your monitor. This step by step guide will take you through making your own monitor arm, helping you avoid potential pitfalls like so.
What you will need:
- Saw
- Wood, plastic or metal to use as material
- Your monitor base
- Screws
- A drill
- Hinges
- Glue
- Measure or trace the shape of your monitors basepost. This will allow you to know the size of the section that will attach your monitor to the monitor arm.
-
Using your chosen material (wood, plastic or metal) cut out the traced section.
-
Cut your material panel in to sections – These sections will allow spaces for the placement of hinges
-
Add hinges to your material panel – This will allow your monitor arm to move around freely
-
Retrace your basepost trace on to the panel.
-
Glue the basepost trace to the panel, adding screws from the other side
-
Use the original trace to make a new base post – This will fit in to the cutout made earlier and attach securely with glue or screws.
-
Screw the panel in to the wall and attach your monitor to the base post. Attach a keyboard tray, if you have such need.
-
You have a completed DIY monitor arm!
Why Make A Monitor Arm?
The main reason many people choose to make their own monitor arm, rather than buying one, is the price. Buying a monitor arm can cost around $200, therefore making your own is far the cheaper alternative. Even despite the cost of materials and time.
Another reason people make their own monitor arms is they can tailor the design to their needs and desires. Some users may wish to have a longer arm which is not commonly sold and therefore may actually need to build their own.
Additional Monitor Arm Features
Although most monitor arms come with the same general features, you can add your own personalisations for your own benefit. These may include 360 degree rotation, extended arm length or dual arm grip (potentially holding more than one monitor). In these cases, it may cost more to make your DIY monitor arm. You also may have to make the product out of more expensive, stronger material, especially if you aim to hold two monitors.
Author
Comments