DIY Monitor Stand: How To Make It Functional and Adjustable?

A homemade monitor stand is the best way to obtain functionality without spending a fortune. A DIY pipe computer desk, for instance, can easily save you anywhere from $500 to a few thousand USD. A DIY monitor stand wood finish may cost a bit higher and require more skills and effort to achieve.
Step-By-Step Guide To Create A DIY Monitor Stand
Depending on your personal DIY intentions, the list of materials needed for this project will vary. This basic monitor stand made using a VESA clamp mount guarantees that the DIY computer monitor stand will be useful for the display you own now and still fit the ones that will replace it in the future.
Below are the basic materials l needed for this project:
- Galvanized steel pipe at the length needed to achieve the appropriate height
- 3-inch galvanized steel pipe of the same opening as the steel pipe above, to clamp the VESA mount on
- 1 elbow joint of the same opening as your pipes
- 1 flange fitting of the same opening as your pipes
- Small-sized c-clamps
- A small piece of wood enough to hold the base of the flange or monitor stand
- A VESA monitor mount
If the convenience of a height adjustable desk is desired, consider creating your own monitor stand to achieve even greater comfort at a more affordable cost. Just follow the steps below.
Draw And Finalize Your Plan
Find a useful guide on how to make a monitor stand, study it, customize it, and finalize the design. Determine the specific materials required and start shopping. Think about how you plan to use the DIY monitor stand then design accordingly. Don’t forget to take a look at the desk where the DIY monitor mount will be set up to make sure that the desk, design and the materials complement each other well.
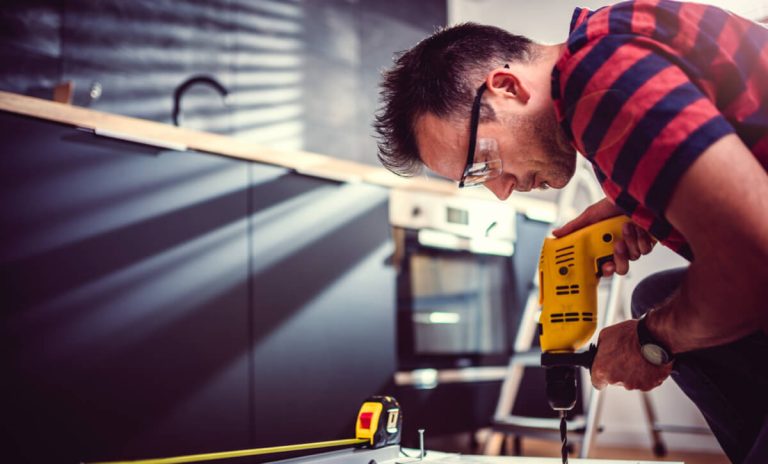
Start Drilling
The first part of the project is to attach the flange onto the wood. Mark the holes with a pencil or marker. Set your flange aside for a while and drill holes over your markings. Then, screw the flange and the wood together.
Position Pipes And Fittings
Once the base has been set up, prepare the stacked monitor mount. Simply fit and screw the pipes to the preferred height. Depending on the length of the pipe, the pipes may or may not need to be cut.
To create the DIY monitor arm, simply create a 90-degree angle bend on the monitor mount using an elbow joint. Attach pipes on both ends. Each pipe must perfectly match the opening of the elbow joint for the homemade monitor stands to work. Another creative and inexpensive alternative is to use a homemade well pipe clamp. Use it to frame the monitor stand or even build an entire desk using pipes.
Drill Holes In Pipe To Hold Vesa Monitor Mount
A DIY VESA mount is always an option, but it’s simpler to buy one. A VESA Mount follows a standardized size and guarantees that the monitor stand will fit any screen you choose.
When aiming for a steel pipe desk mount, it may be necessary to drill a hole into the pipe where the VESA mount may be attached. To complete this step, a metal drill will be necessary. If there is a machine shop nearby, ask to have the pipe drilled there to help ensure proper drilling and safety.
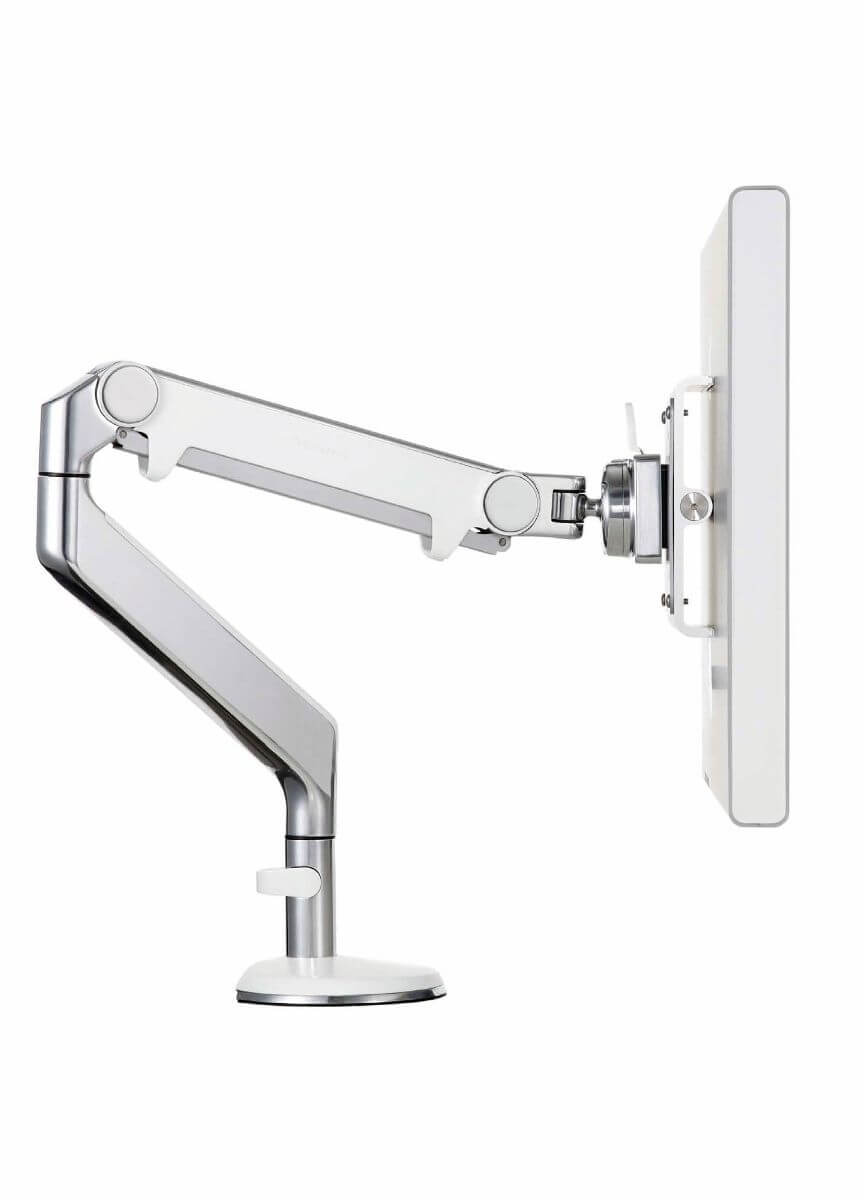
Attach The Vesa Monitor Mount
Once the holes have been drilled so that a screw can run across the pipe, the VESA mount is ready to be attached. Keep the mount in place using a screw long enough to pass through both holes. Use the hanging ends to attach the mount. Hold the mount and screw it in place by using two bolts on each end of the screw. 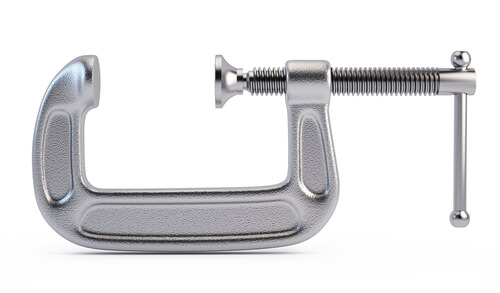
Clamp DIY Monitor Mount To Your Desk
The next step is to fix the homemade monitor stands to the desk. Use the c-clamps to complete this step. Position the base of the screen stand where you want it on your desk before tightening the clamps. Make sure that it’s height is on a comfortable level, especially if you are using devices like a sit-stand desk converter.
Keep in mind that a wood table clamp may not always be appropriate. The best clamp to use for the desk depends on the materials handpicked for this project. In the case of pipe desks, metal clamps with screws and bolts may be more appropriate.
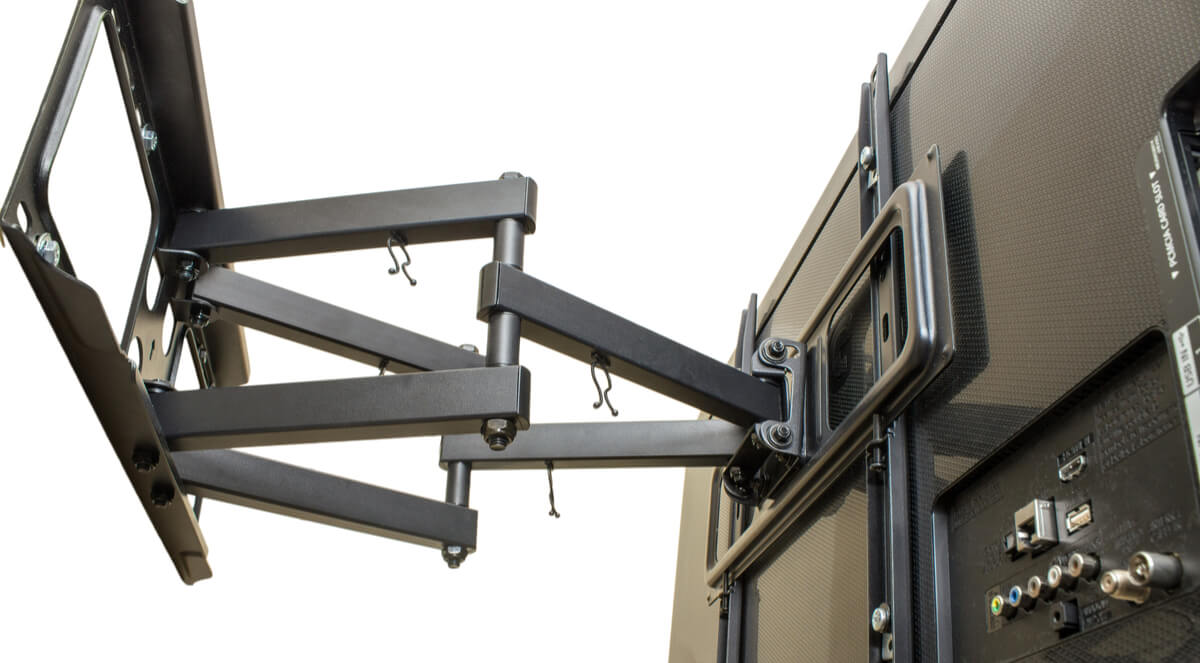
Mount The Display To The Stand
Attach the other side of the VESA mount to the display. In the likely event that the stock mount plates and monitor stands are still attached to the display, it’s time to unscrew these and replace it with the new VESA mount and stand. Make adjustments based on your comfort and convenience.
Pros And Cons Of DIY Monitor Stand Project

There is no doubt that paying for a ready-to-use product has its advantages and disadvantages to this DIY project. To sum up, listed below are some of this project’s pros and cons:
Pros
- A monitor stand DIY project permits more creative freedom to accommodate customizations based on preferred functionality and design.
- It may cost less than a ready-made option if the planning and execution are properly done.
- It may suit your needs better if the design is simple enough to be executed by a hobbyist like yourself.
- Any old yet sturdy material may be used to build the monitor stand depending on availability, in which case, expect to make additional savings by using scrap lying around the house.
Cons
- There are plenty of considerations to make, that includes budget, skills, and the amount of time you can spare to work on the project.
- Making smaller components by yourself, such as homemade clamps, may become tedious and time-consuming.
- Some DIY requirements, like drilling a hole into steel pipes, require certain tools and experience to get done.
- There are sizing and design standards that you might miss, such as those set for the VESA mount, which may limit the use of the DIY monitor stand.
Making a Monitor Stand: To DIY Or Not

Even when you have a well planned out how to make a monitor stand DIY instructions at hand, this project may not always fly or, not turn out the same way as it was planned. Ultimately, you may have to decide whether you would rather pay for your best monitor arm with your money or, with your time.
Author
Comments