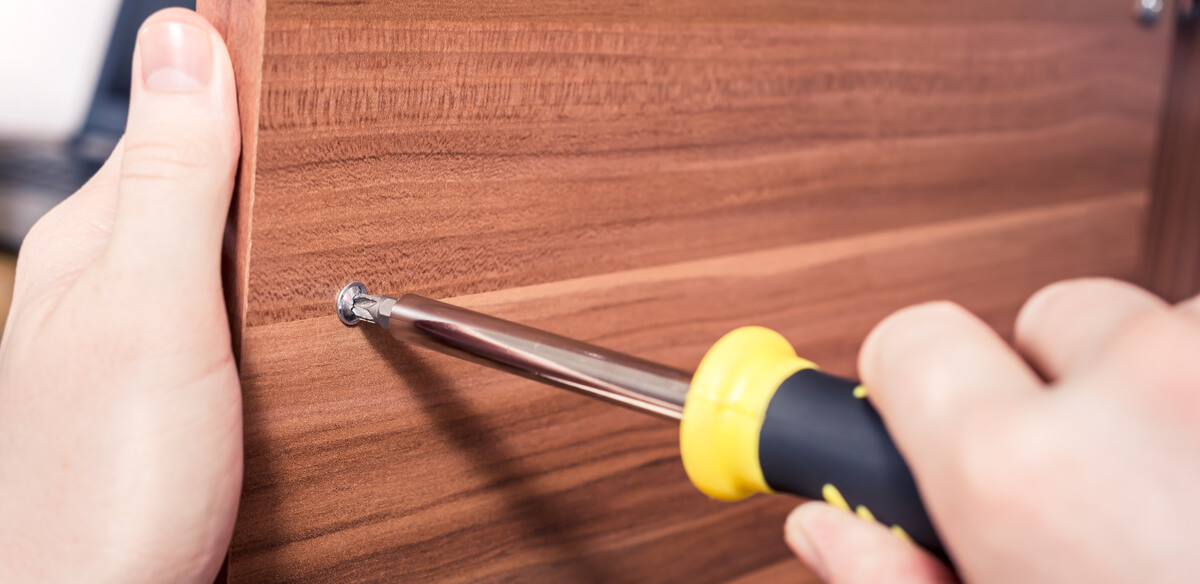
Quick Steps on How To Build The Best DIY Keyboard and Mouse Tray

Sometimes, when you buy or build your own sit-stand desk, you discover that the surface isn’t large enough to put your mouse and keyboard on. If there isn’t any built-in ergonomic keyboard tray and you can’t spend more money on the costly manufactured tray, you are left with only one option, building your own keyboard tray slides.
Building a keyboard tray slide whether for a small office desk or a big desk is easy and adding a shelf will help provide more workspace for you. Before we go into this step by step guide, let us look into the materials and tools needed to build our DIY keyboard tray.
Preparations To Build The Keyboard Tray
When undergoing this project, you will need various materials and tools which will successfully and seamlessly help you construct your own keyboard tray slide. When constructed, this tray can even be used on some types of sit-stand desks. You will need the following tools:
- A Tape measure or ruler
- A hand drill and bits
- A saw (if you can’t operate a circular saw, a hand saw or band saw can be used in place)
You will need these materials:
- A Drawer slide (this come in pairs)
- A tray surface (a pressboard panel can be used in this case)
- Leg materials (probably a 1×3, four 2” lengths, and also four 6” lengths)
- Various screws to hold it in place
A Step-By-step Guide on How to Build DIY keyboard Tray
Now you have gotten each and every material, and we can begin with the following steps:
Step 1: Take all Measurements and Cut all the Cuttable
When building a DIY keyboard tray, you should consider the ergonomics behind it. Experts recommend that your hands form a 90-degree angle when using the keyboard. Regardless of the height of your desk, the surface of your keyboard should always align to form that 90-degree angle. Make the legs one inch longer than the distance between the bottom surface of your desk and the top of the keyboard tray. For example, if you are planning to make the top of your tray to be 7” below the bottom of your desk, you need to make the legs about 8” long. Your required distance may be shorter than the above length. You can make all the legs out from a 4ft wood preferably poplar or any wood that is large enough for both your mouse and keyboard and also thick enough to harbor 4 screws at all sides. I would advise that you avoid making use of MDF because it does not work in hand with screws well.
Cut the legs to the required length and out of the same material, cut the four 2” section used to join the legs of the tray to the desk surface. Also, get your tray surface intact.
Step 2: Assemble the Sliding Keyboard Tray and Legs
Assemble the inner mechanism of the tray slider to the board taking note that they both point to the same direction so they can slide accordingly. You might have to push down the tab to achieve this purpose. Now you can assemble the legs using the following steps:
- First, start by drilling a pilot hole to prevent your wood from splitting when try to drive in a screw on the sides of the board
- Drive a screw into the hole
- Make a second drill to create another pilot hole
- Drive in another screw into the hole
- Repeat steps 1-4 for each leg
- Finally, drill a hole which would be used to join the legs of the keyboard to the underside of the selected desk
Step 3: Attach The Keyboard to The Selected Desk
If you have attached the legs to the slide mechanism before putting it under the desk, the pull-out keyboard tray would not be leveled; therefore it would eventually slide out. So how do you attach it to be balanced and leveled?
- Attach the front legs, one on each side of the keyboard tray.
- Find someone or something to help you hold it in place while you fix it.
- Attach the front legs to the underside of the desk.
- You will now be able to slide the keyboard tray in and out to the point it becomes stable and balanced. You can ask a friend to help you hold it firmly while you do that.
- Connect the other two legs carefully. This isn’t an easy task but try as much as possible and also make sure it is balanced when you fix the slide to the other legs on each side.
- If you are clumsy enough and you mess up your wood when trying to fixing the screw, you can hold it with glue but always be mindful of the bearings.
Start Building DIY Keyboard and Mouse Tray
By now, you might have known how to build a DIY keyboard tray. It is time to get to work, go out and get all the tools and materials, spend way less the amount of sliding keyboard shelf online while you also use your ergonomic monitor mount to improve your health while working.


Comments
2 comments